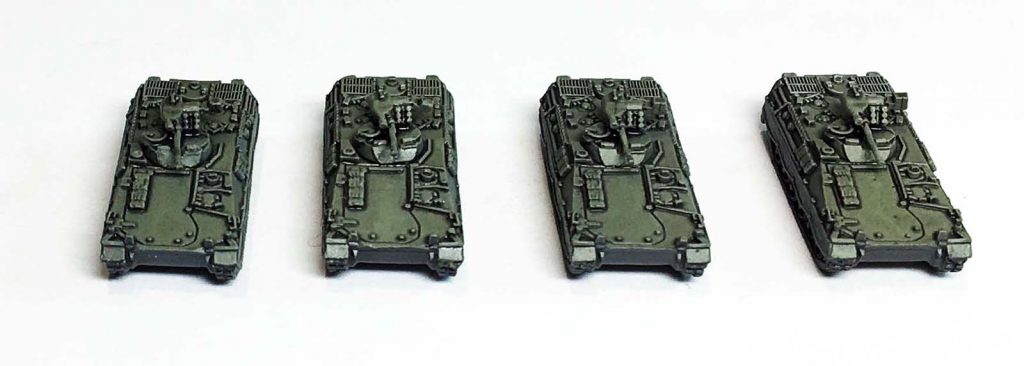
- Supplies Required
- Step 1: Setup (5 minutes)
- Step 2: Assemble and Mount the Models (10 minutes)
- Step 3: Prime the Models (15 minutes)
- Step 4: Base Coat (15 minutes)
- Step 5: Apply Wash (10 minutes)
- Step 6: Paint Windshields (5 minutes)
- Step 7: Apply Flat Coat (10 minutes)
- Step 8: Tear Down and Cleanup (10 minutes)
Speed Painting 6mm AFVs: 26 Models in 80 Minutes
My painting techniques are focused on obtaining the best results while spending minimal time. I’m a gamer, not a modeler. My preferred scale for modern ground combat is 1/285 (6mm) scale and my techniques are optimized for that scale. This tutorial details a modified version of my standard technique, using “zenithal highlighting”.
Supplies Required
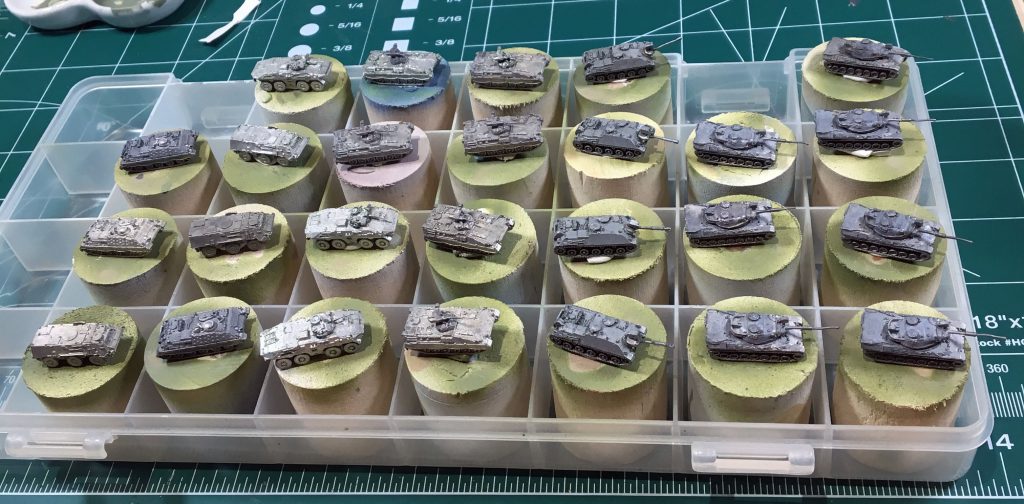
- Models. The models were GHQ modern Germans and were all around 30 years old. One issue with older GHQ models is that they used softer metal before about 1992. Thus, it’s nearly impossible to keep the barrels straight. Some of the models in this batch had this problem.
- Paint Stripper. Rehabbed models were stripped with Purple Power cleaner.
- Paint. Thinners and Washes
- Primer – Vallejo black surface primer
- Base Coat – Vallejo Panzer Colors #218 US Tank Crew, thinned for airbrush use
- Clear Coat – Testors Model Master Acryl Flat Coat I airbrush the Testors acrylic clear because they dry very fast compared with cans.
- Thinners – I use Liquitex Airbrush Thinner to thin acrylic paints for airbrushes. I use my Magic Formula C (50% Windex, 50% Isopropyl Alcohol, several drops of glycerin) alcohol to clean the airbrush between colors and lacquer thinner to clean the airbrush at the end.
- Wash – I use a custom wash made from Future Floor Wax and Vallejo Game Color black ink.
- Tools. I used my trusty Grex Tritium TG3 gravity feed, pistol grip airbrush. As always, paper towels come in handy when working with an airbrush and when using washes.
Step 1: Setup (5 minutes)
Before starting, I assembled all materials and tools I’d need — paint, washes (already pre-mixed), thinners, etc. — and cleared the workspace.
Step 2: Assemble and Mount the Models (10 minutes)
I used super glue to glue on all turrets and other stuff. As noted above, the soft metal used by GHQ pre-1992 made the barrels easy to bend. I didn’t really succeed in straightening them. I also lacked the tiny missile launchers for the Jagdpanzers. I mounted the models on painting cylinders using poster tack.
Step 3: Prime the Models (15 minutes)
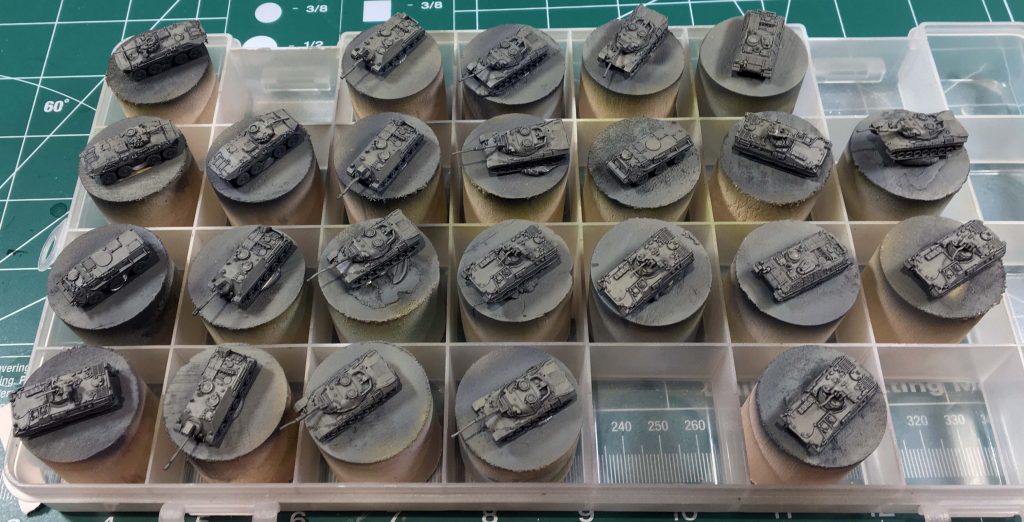
I primed the models with Vallejo Surface Primer Black.
Step 4: Base Coat (15 minutes)
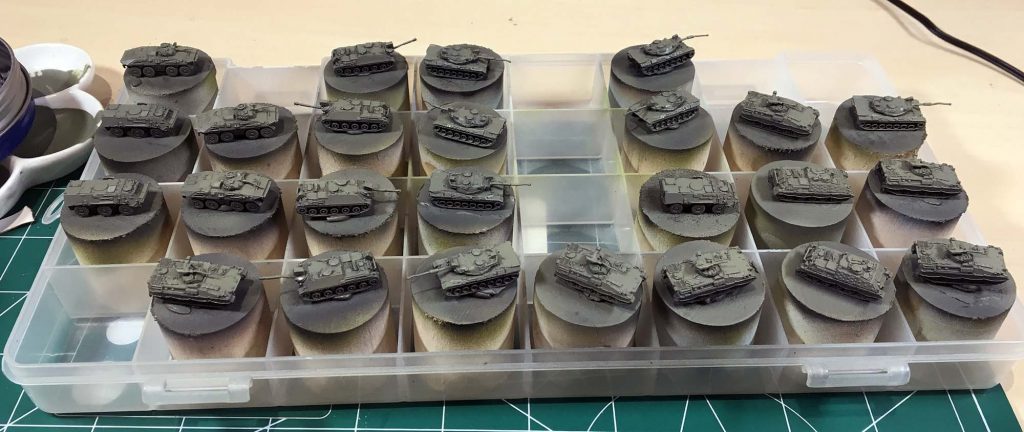
The base coat was Vallejo Panzer Colors #218 US Tank Crew, thinned for airbrush use. Getting the right consistency took more time than usual. The specific technique is called “zenithal highlighting”. Basically, you spray the base coat at an angle, which preserves the black recesses.
Step 5: Apply Wash (10 minutes)
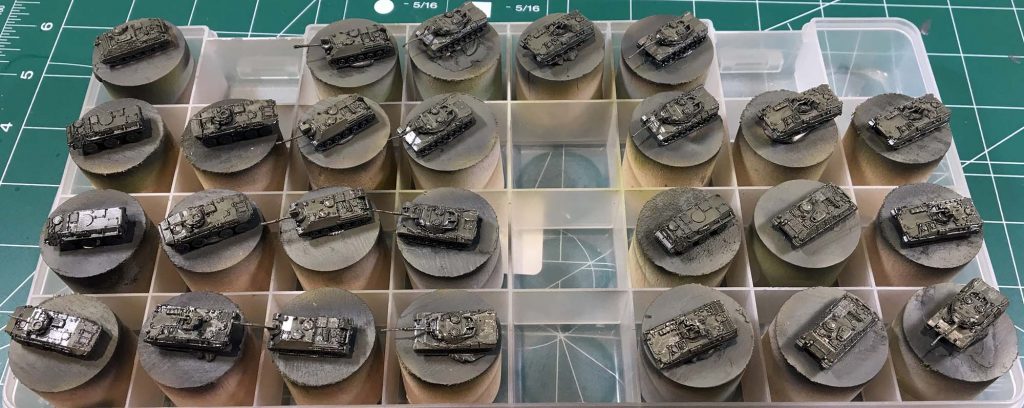
Using my pre-mixed wash, I applied the wash to each model, being careful to keep it from pooling on the large flat areas. The wash takes awhile to dry, so I took a break and straightened up my workbench.
Step 6: Paint Windshields (5 minutes)
I painted the windshields on the Tpz-1 Fuchs with Citadel Lothern Blue and then washed it with Citadel Guilliman Blue glaze.
Step 7: Apply Flat Coat (10 minutes)
I remounted the models onto the painting cylinders and sprayed the models with Testor’s Model Master Acryl flat coat. I sprayed each model individually, which accounts for the time taken.
Step 8: Tear Down and Cleanup (10 minutes)
I shot lacquer thinner through the airbrush, then pulled and cleaned the needle. I emptied thinners and put the paints up. Finally, I cleaned up the workspace.
Total Time — 80 minutes, A bit more than 3 minutes per model. Had I applied a camouflage scheme, it would’ve added about 20 minutes per color.

