Converting a Matchbox Stryker MGS Toy Into a 25mm (?) Miniature
I moved earlier this year and finally found time to configure my new workroom. My airbrush had been idle for almost a year, so it needed some serious cleaning and maintenance work. To test it out, I decided to paint up a Matchbox Stryker toy I’d bought a couple of years ago. As usual, my painting technique was designed for speed painting and turning out an attractive tabletop model. It took 28 minutes, 13 of which was setting up, spraying thinner between colors and tearing down. Had I painted a unit of (say) 5, it would have taken about 88 minutes for all of them, or about 16-17 minutes each.
Step 1: Organizing Materials (5 mins)
For this project, I assembled what I’d need first: the toy, my trusty Grex Tritium TG airbrush, Vallejo Surface Primer black, Vallejo 70819 Iraqui Sand, Vallejo Model Air Gunmetal, Testor’s Acryl Flat, Liquitex airbursh thinner, my magic wash (Future floor polish and black ink) and my custom airbrush cleaner C (50% Windex, 50% Isopropyl Alcohol (91%) and a few drops of glycerin).
Step 2: Prime Model (2 mins)
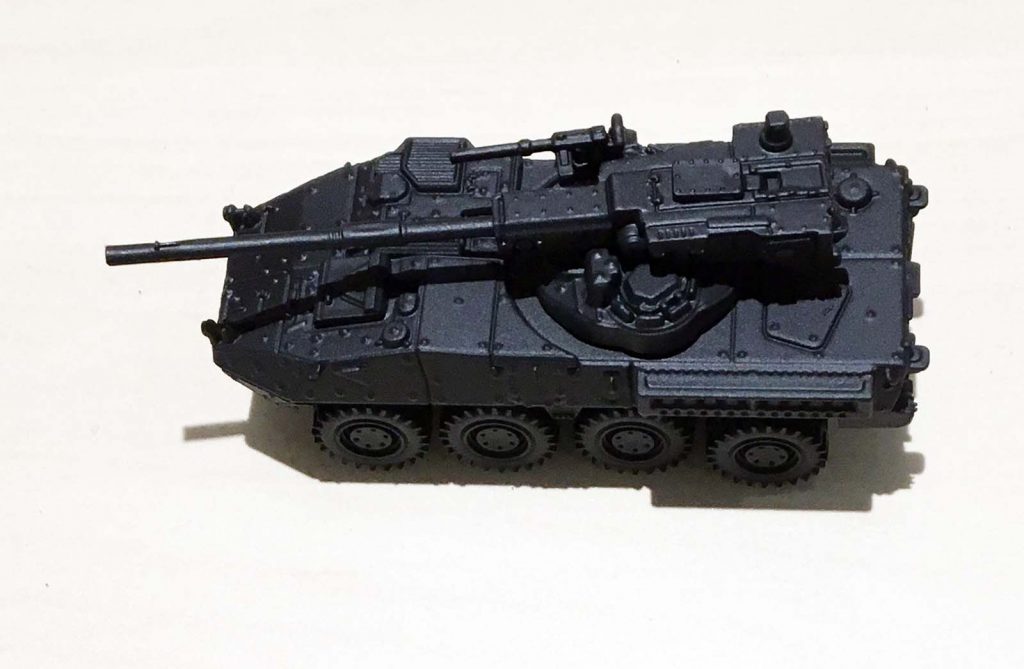
I primed the model with Vallejo Surface black. (3 mins). I sprayed my custom Airbrush thinner C after each coat.
Step 3: Basecoat Model (5 mins)
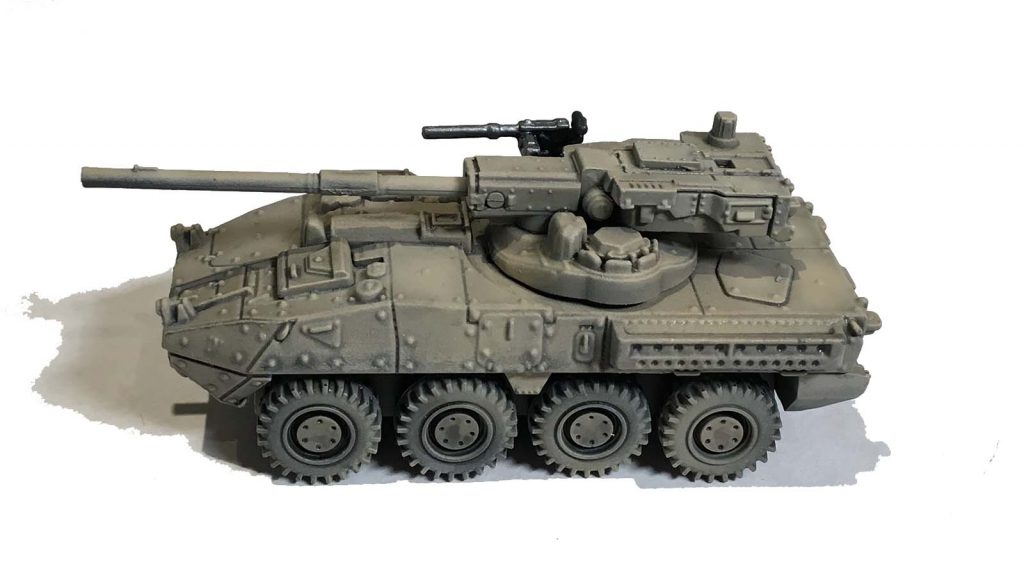
The basecoat was Vallejo Iraqui Sand, thinned for airbrush use. Thinning the paint took a little longer than usual, as I was out of practice. I sprayed the base coat at an angle to preserve the black primer coat in the recesses.
Step 4: Wash Model (2 mins)
I washed the model with my magic wash, trying to keep it from pooling on the large panels.
Step 5: Detailed gun (3 mins)
I brush-painted the machinegun black, then went over it with Vallejo Model Air Gunmetal. (3 mins)
Step 6: Panel Highlight (3 mins)
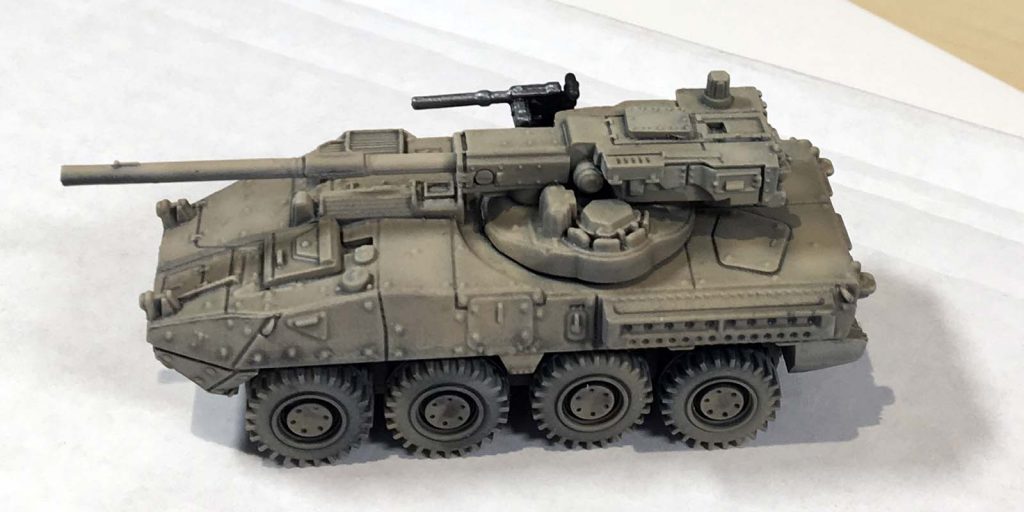
I sprayed Vallejo Iraqui Sand in the center of the large panels to provide a highlight. The effect was subtle and looks better than the photos show.
Step 7: Flat Coat (3 mins)
I airbrushed the model it with Testor’s Acryl Flat. (2 mins)
Step 8: Cleanup (5 mins)
I cleaned the airbrush with lacquer thinner and put everything away.
I decided to leave the tires dusty, as I found some photos of US Strykers with dusty wheels. Painting the wheels would’ve added 5+ minutes probably.


