Using the Minitaire Ghost Tints and Createx Transparents on 6mm Models — Updated
Awhile back, I bought the entire line of Badger Minitaire paints (I took advantage of a 50% off sale). Unfortunately, I haven’t been able to use them very much since my existing projects use Vallejo Model Air and Testors Model Master Acryl paints. However, they are very attractively priced — $3.33 US for a 29.5 ml bottle, compared with $3.29 for a 17 ml bottle of Vallejo Model Air or $3.69 for a 14.7 ml bottle of Testors Model Master Acryl. The Minitaire line, while not as extensive as the Vallejo or Testors line, has some 80 colors and tints.
Createx also manufactures a line of airbrush paints that appears to be aimed at traditional artists more than model/miniature hobbyists. I have very little experience with their paints, but they are priced attractively – $4.50 for a 59 ml bottle (this is the same size as the Delta Ceramcoat and other craft store lines).
The Minitaire line has a 12 “Ghost Tints”. These paints are transparent. So when sprayed over a white background, the background takes on the color of the tint. But when sprayed over a black background, the black shows through:

The Createx Transparents behave similarly.
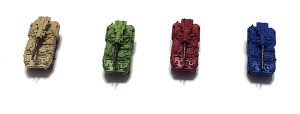
Anyhow, I decided to test several of the Minitaire tints (blue, green and “fresh blood” [red]) and Createx Transparent Sand on a GHQ model. My idea was to pre-shade the models, then apply the colors.
Here were the steps:
- Primed each model white using Testors Model Master Acryl Primer White.
- Gave each model a wash of my Future black wash (Future floor wax with black ink).
- Sprayed each model with one of the colors.
- Brush painted gun barrels and tires grey-black.
- Sprayed models with Testors Model Master Acryl Clear Flat.
- Brush painted gun barrels Vallejo Model Air Gun Metal.
Here were the results:


Createx Sand
This gave the best result, in my opinion:
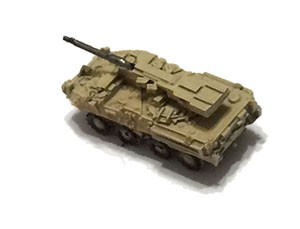
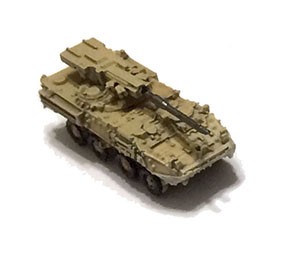
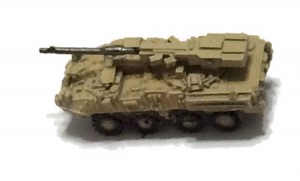
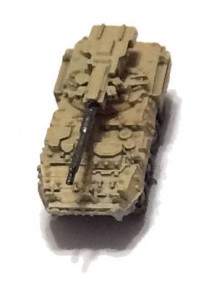
The pre-shading came through well, I thought. However, the Createx Sand Transparent appears more opaque to me than the Minitaire tints.
Minitaire Blue Tint
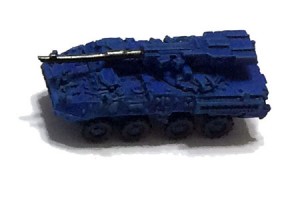
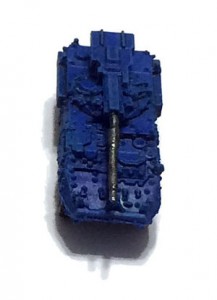
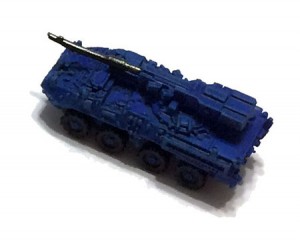
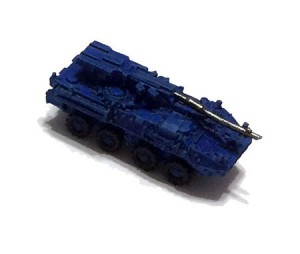
As you can see, the blue is a very dark blue. The reason is that the tints get darker as you apply more tinting. This can produce very nice effects when painting flesh. But on vehicles, I found it impossible to create a uniform lighter shade. A good drybrushing with light blue would probably produce a very attractive model.
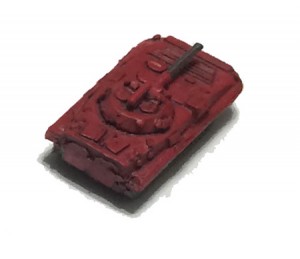
Minitaire “Blood Red” Tint
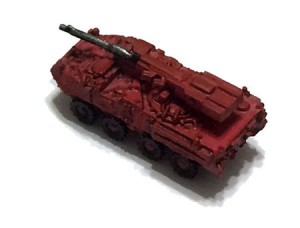
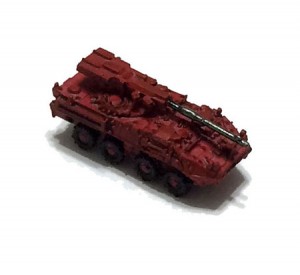
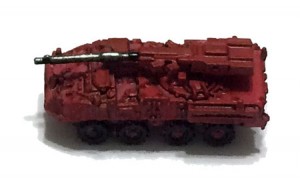
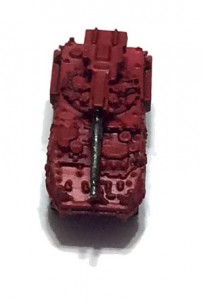
As noted above, all of the Minitaire tints get darker as you add more tinting. This wasn’t as much of a problem on the red, since “light red” is really pink (and not a good AFV color). The result was a somewhat darker red than I’d like, but the pre-shading showed through well. A quick drybrush of a brighter red opaque paint would probably make this model look much nicer.
Minitaire Green Tint
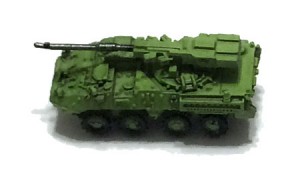
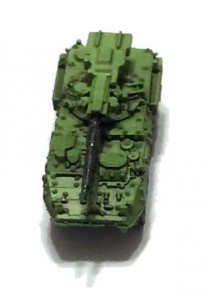
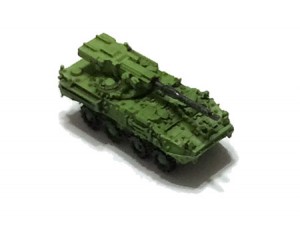
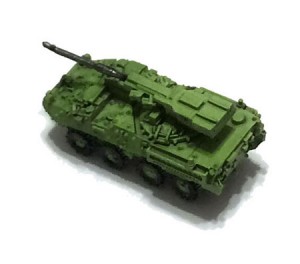
I think that the Mintaire Green Tint produced an attractive model. The pre-shading was visible and it seemed easier to get a uniform color.
Conclusion
This was an interesting experiment. I think that these tints and transparents can be useful tools for miniature painters. However, they require different techniques to use. The fact that they darken as more tint is applied makes them more challenging to use. While this is challenging to a novice user like me, a skillful user might be able to create highlights “on the fly”. I also haven’t tried mixing the tints, so for now, I’m limited to the pre-mixed colors. I intend to try to create an olive drab tint by mixing green and brown. I’ll supplement this post with the results.
That said, if you have problems getting washes to behave, you might try these tints. It seems to me that the colors are less “dirty” when using tints over pre-shading.
Update
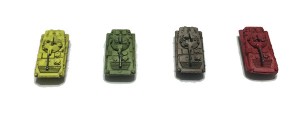
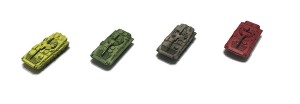
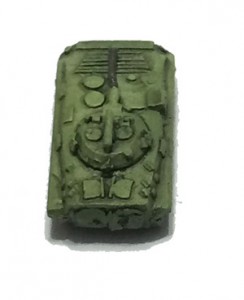
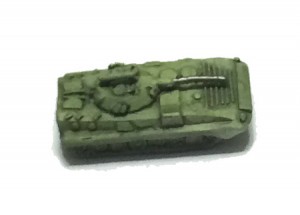
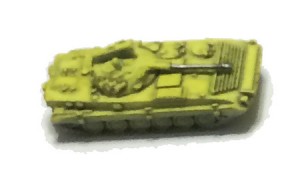
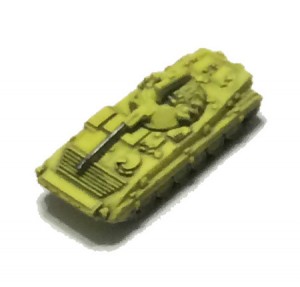
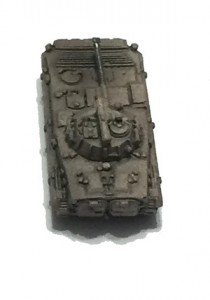
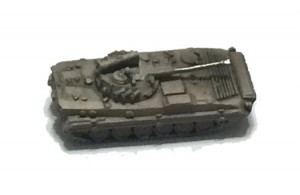
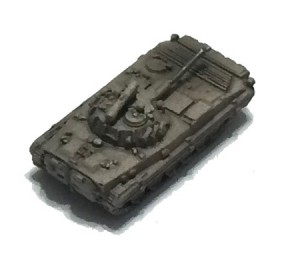
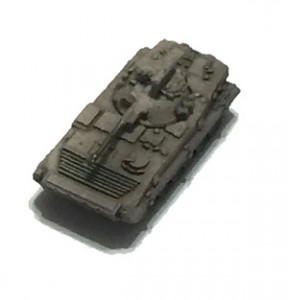
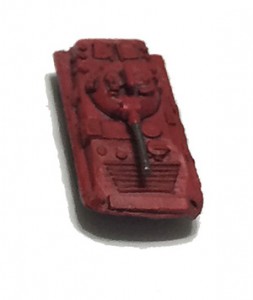
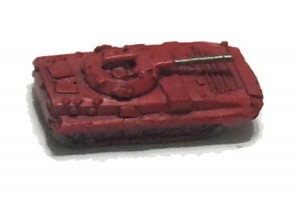
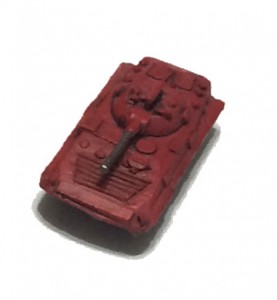
I tinted 4 more models (2 ancient rehabbed GHQ BMP-2 and 2 ancient rehabbed Heroics Ros BMP-2 models) with Ghost Tint Yellow, Olive (3 parts Green and 1 part Brown), Brown and Red.
Unpainted Models
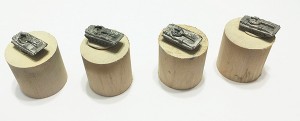
Primed Models
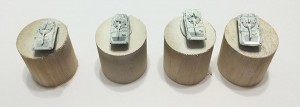
Washed Models
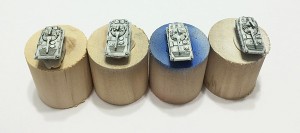
Tinted Models

Final – Olive
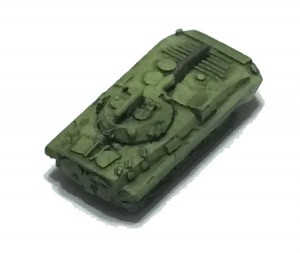
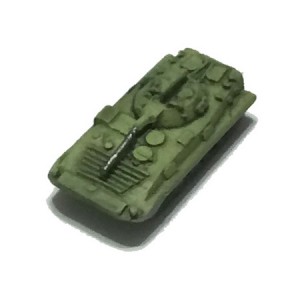
Final – Yellow
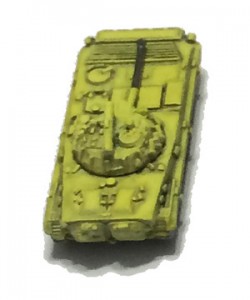
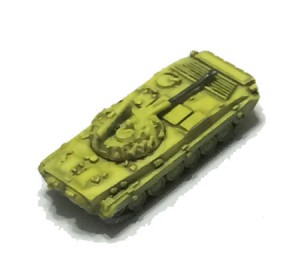
Final – Brown
Final – Red
All 4 Models:


